Virginia Seed Starting: Direct Sowing vs Indoors
Starting seeds indoors or sowing them straight into the garden can both work in Virginia, but the best choice depends on the crop, your growing conditions, and how much space and attention you can give seedlings. This guide explains how to choose a method, time it around local conditions, and avoid common problems from sowing to transplanting.
Choose a method based on the crop and your garden
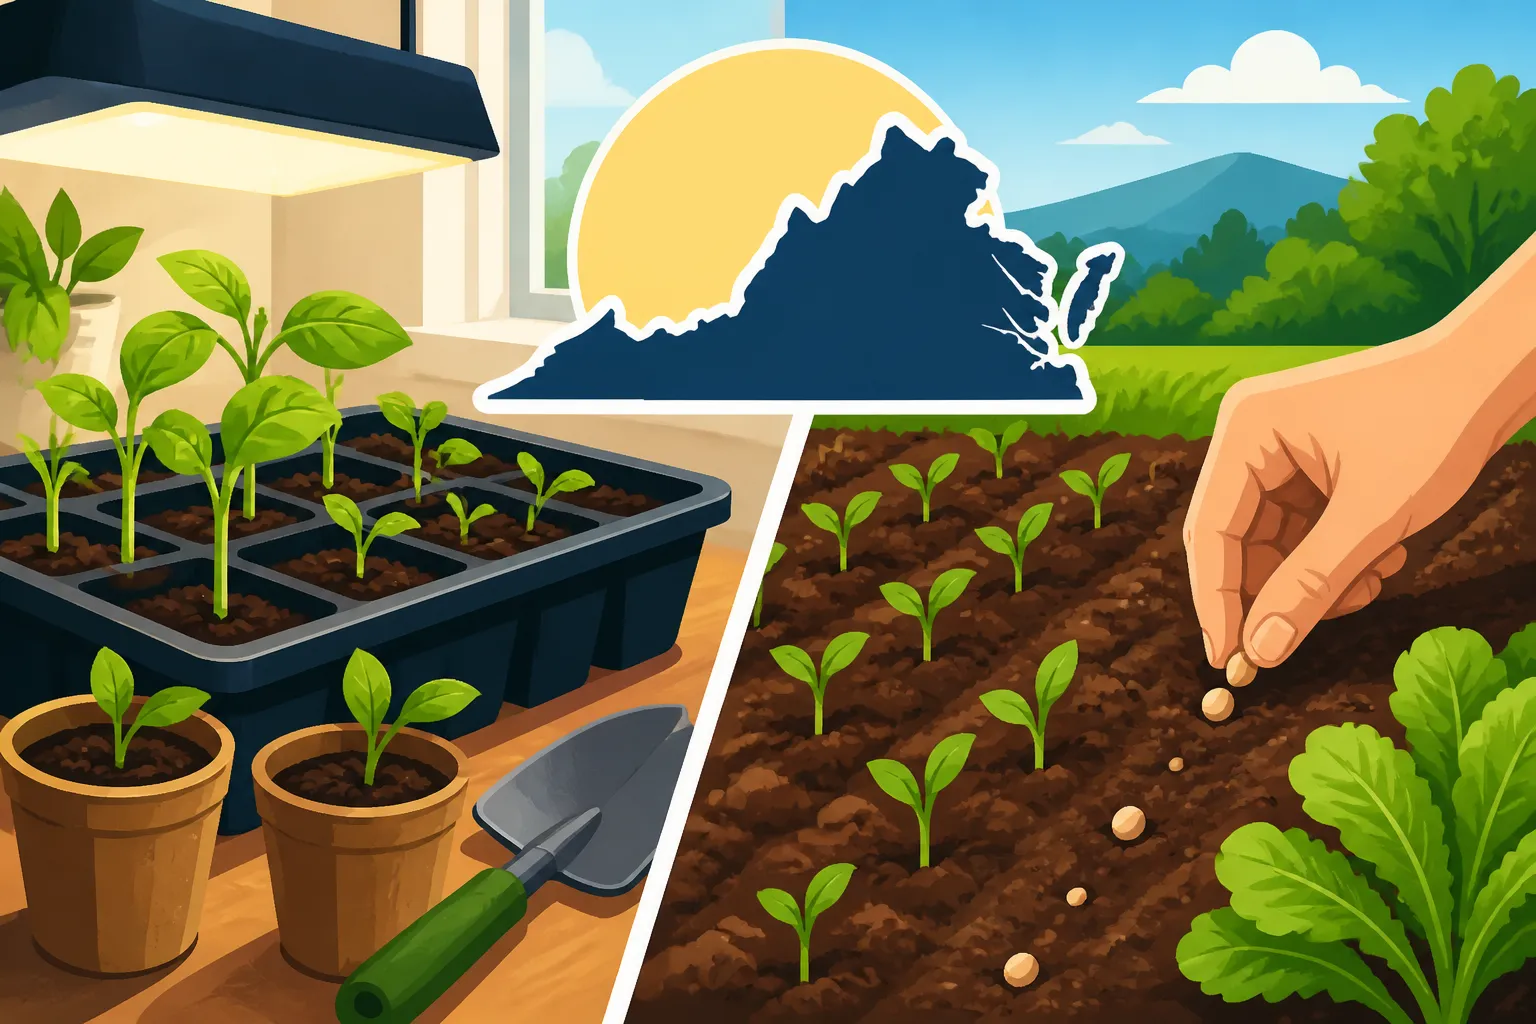
Direct sowing means planting seeds where the crop will grow. Indoor starting means germinating seeds in containers under protected conditions, then moving the seedlings outdoors. Neither method is automatically better. A good choice depends on how a crop responds to disturbance, how long it needs to grow, and whether your garden is ready when you want to plant.
Some crops are well suited to direct sowing because they establish readily in garden soil or do not transplant comfortably. Others benefit from a head start indoors, particularly when gardeners want to manage germination and early growth before outdoor conditions are suitable. Seed packets often state whether a crop is best sown outdoors or started indoors, and their instructions should be a starting point rather than a substitute for local conditions.
| Consideration | Direct sowing | Starting indoors |
|---|---|---|
| Where seedlings begin | In the bed or container where they will grow | In a protected seed tray, pot, or other container |
| Main advantage | Avoids transplanting and the need to maintain indoor seedlings | Gives seedlings a protected start and can help you prepare plants before the bed is ready |
| Main challenge | Seeds and young seedlings face outdoor soil and weather conditions | Seedlings need suitable light, moisture, temperature, and a careful transition outdoors |
| Often a good fit | Crops that establish well in place or dislike root disturbance | Crops that benefit from a head start or need protected early growth |
| What to check | Soil condition, weather, seed depth, and seedbed moisture | Germination conditions, indoor light, container space, and transplant readiness |
| Common risk | Poor emergence in cold, dry, crusted, or waterlogged ground | Weak, crowded, or overgrown seedlings from poor indoor conditions or premature sowing |
Use the crop’s preferred method as the first filter. Then consider your location, the condition of your soil, and whether you can give indoor seedlings the care they need. For help matching a planting window to local conditions, see How to Find Your Garden Planting Window by ZIP Code and Virginia Vegetable Planting Calendar by Region.
A crop’s preferred method does not make the other method impossible in every case. Gardeners sometimes adapt a method to fit limited space or a late start, but the trade-off may be slower establishment or a more demanding transition. If you change the usual approach, start with a small amount rather than risking every seed or seedling in one attempt.
Your available time matters as much as your available space. Direct sowing concentrates care in the garden: preparing a seedbed, keeping it appropriately moist, and watching for emergence. Indoor starting spreads that attention across trays or pots before planting day. It can be rewarding, but seedlings do not thrive just because they are indoors. If you cannot provide adequate light and regular attention, direct sowing may be the more dependable choice for a suitable crop.
The condition of the eventual bed also matters. If the soil is wet, compacted, or otherwise difficult to work, sowing into it may be unwise even when a calendar suggests a planting window has arrived. Indoor starting gives you time to prepare the site while seedlings develop, but only if the seedlings will be ready when the bed is usable. A calendar can guide planning; it cannot make unsuitable soil or weather suitable.
Match the seed-starting method to the crop
Think about how a crop behaves rather than applying one rule to every vegetable. Some seeds are commonly sown in their final growing place because moving a young plant can set it back. Other crops are commonly started in containers because an established seedling can be useful when the outdoor bed is ready. Check the seed packet for the recommended approach and any crop-specific notes.
When direct sowing makes sense
Direct sowing is often a natural choice for crops that do not respond well to having their roots disturbed, or that grow quickly enough to establish in the garden without an indoor head start. It also makes sense when indoor space is limited or when a crop’s seed is easy to sow accurately in a prepared bed.
For seeds sown outdoors, the quality of the seedbed can make a noticeable difference. A surface that is loose, level, and free of large clods gives small seeds a more consistent place to settle. If the soil is too wet to work without sticking and smearing, wait for it to become workable. Pressing wet soil into a compacted surface can make emergence harder rather than easier. For crop-specific planting depth considerations, see Virginia Garden Planting: Sowing Seeds at Proper Soil Depths.
A direct-sown row also needs clear identification. Before seedlings appear, it can be easy to confuse the intended row with weeds or to disturb it while tending nearby plants. Mark the location and keep a record of what was sown. If the seed takes time to emerge, avoid repeatedly digging into the row to check for it; that can disturb seeds that are still germinating.
Direct sowing gives seeds the outdoor conditions they will ultimately encounter, but those conditions can change. A dry surface may need attention so seeds do not lose contact with moisture. Heavy rain can shift seeds or leave a crust that makes emergence difficult. Cold or fluctuating conditions may delay germination. A flexible approach is to prepare the bed when it is workable, then sow when the crop and conditions are a reasonable match.
When indoor starting is useful
Indoor starting can help when you want seedlings developing under protection while the outdoor garden is not ready. It can also make it easier to monitor germination, organize plants, and fill a planned bed with seedlings rather than waiting for seeds to emerge outdoors.
The main trade-off is that you take responsibility for conditions that outdoor soil and weather would otherwise provide. Seeds need appropriate moisture and warmth to germinate. Seedlings need enough light and space to grow steadily. Once they are ready to leave their protected setting, they need a gradual transition to outdoor conditions. Indoor starting is most useful when you can manage those steps rather than simply sowing seeds early and hoping for the best.
A seed-starting mix designed for containers is usually easier to manage than dense garden soil in a small pot. Garden soil can compact in containers, drain poorly, or make it difficult to keep moisture even. Choose a clean container with drainage and follow the seed packet’s sowing directions. For more on choosing a growing medium, see Choosing the Best Potting Soil for Container Vegetables.
Indoor starting can also suit gardeners who want to coordinate several crops for a planned planting. The risk is making seedlings ready long before the outdoor bed is ready. If a plant stays crowded or in a small container too long, it may become difficult to manage and less robust by transplant time. Start with the intended outdoor planting in mind, not just the convenience of sowing seeds indoors.
A sensible middle ground
A mixed approach often works better than choosing one method for the entire garden. Direct sow crops that suit in-place sowing, and start selected crops indoors when a head start or protected germination is useful. This spreads risk: if outdoor conditions delay one sowing, seedlings of another crop may still be developing under protection.
You do not need to start every seed indoors to have a productive garden. Nor do you need to direct sow everything simply because it avoids containers. Select the method crop by crop, then keep a short record of what you tried. Notes on emergence, transplant adjustment, and harvest quality can help you make better decisions next season.
Plan around Virginia’s changing local conditions
Virginia gardens do not all share the same planting conditions. Coastal, Piedmont, valley, and mountain locations can experience different seasonal patterns, and elevation, slope, and nearby buildings or trees can shape conditions within a locality. A broad statewide calendar can help organize the season, but it cannot provide a precise answer for every yard.
Frost dates are probabilities, not guarantees. A date associated with a weather station or region does not promise that frost will occur on that date or that frost risk has ended afterward. Cold air can settle in low spots, while a sheltered or urban site may behave differently from nearby open ground. Use local frost information as context alongside current conditions, not as a fixed signal to plant. For more on the uncertainty involved, see Understanding Spring and Fall Freeze Probabilities for Planting and Virginia Frost and Freeze Date Guide for Gardeners.
Soil readiness deserves its own check. A few mild days do not necessarily mean garden soil has warmed or dried enough for sowing. When soil is cold, some seeds may be slow to germinate; when it is saturated, working it can damage its structure. Warm-season crops also need conditions that support steady establishment, not just a day that feels pleasant outdoors.
For the indoor-starting schedule, Virginia Cooperative Extension, Virginia Polytechnic Institute and State University recommends starting seeds indoors 4 to 12 weeks prior to transplanting, depending on germination, growth, and growing conditions. Treat that range as planning guidance, not a universal countdown: the appropriate lead time depends on the crop, the seedling’s development, and whether your growing setup provides suitable conditions.
The same organizations note that a germination temperature of 65 to 75ºF is generally best for most plants. That guidance concerns germination, not a guarantee that a seedling is ready to go outdoors or that the garden soil is suitable for planting. Read the seed packet for crop-specific direction, and consider the conditions the seedling will encounter after germination.
To make a practical schedule, work backward from the bed rather than forward from a convenient indoor sowing day:
- Identify the crop’s preferred sowing method and its guidance on planting outdoors.
- Estimate when the garden bed may be suitable, using local seasonal information and observations from your own yard.
- If starting indoors, plan for seedlings to be ready near the time you can transplant them.
- If direct sowing, wait until the site and conditions suit the crop.
- Reassess if the weather shifts, the soil remains wet, or the seedlings grow faster or slower than expected.
This backward-planning approach reduces the chance of producing transplants that are ready too soon. It also helps avoid sowing outdoors into ground that is not prepared simply because a printed schedule suggests it may be time. To compare broad seasonal tasks, see Virginia Garden Planting Calendar: Cool and Warm Seasons and Managing Planting Calendars for Fluctuating Early Spring Weather.
Start indoor seeds with steady conditions
Indoor seedlings need more than warmth. A successful setup makes it possible to keep moisture consistent, provide adequate light, and give each plant enough room to develop. A sunny windowsill may work for some situations, but light can be weak or uneven, especially when seedlings stretch toward the glass. If you use grow lights, place and operate them according to the equipment guidance and the needs of the crop. More detail is available in Starting Virginia Garden Seeds Under Lights: Hours and Distance.
Use clean containers with drainage. Reused containers should be cleaned before planting, and trays should not sit in water for long periods. A suitable seed-starting mix should hold moisture while allowing excess water to drain. Fill containers loosely rather than packing the mix down hard, then moisten it evenly before sowing.
Follow the seed packet for sowing depth and coverage. Some seeds need light to germinate, while others are covered with growing mix; do not assume every seed should be buried the same amount. Small seeds can be especially easy to sow too deeply or unevenly. Label containers as soon as you sow them, because seedlings of different crops can look similar when young.
Keep the growing mix evenly moist without making it waterlogged. A dry surface can interrupt germination, while constantly saturated mix can deprive roots of air and encourage problems. Check containers regularly rather than relying on a fixed watering routine. The container, mix, room conditions, and seedling stage all affect how quickly moisture is lost.
Once seedlings emerge, light becomes a central concern. Weak or insufficient light can result in tall, thin growth that is harder to handle at transplanting. Keep plants from becoming crowded, and adjust the growing arrangement as they develop. If seedlings lean, stretch, or grow unevenly, review the light and spacing before assuming they need more water or fertilizer.
Avoid treating every slow seed as a failure. Germination speed varies by crop and conditions. If seeds have not emerged, check the packet for expected conditions and time, and check whether the mix has become too wet or too dry. Digging seeds up to inspect them can damage them. For a new sowing, improve the conditions that may have caused trouble and sow a small test batch rather than repeating the same setup without adjustment.
Indoor starting also requires restraint. Sowing very early can create large seedlings that are difficult to maintain in containers. If the bed is not ready and there is no room to pot plants on, a more conservative sowing schedule may be easier to manage. The best schedule is one that results in healthy seedlings at a suitable transplant stage, not the earliest possible start.
Direct sow carefully and protect the seedbed
Direct sowing begins before the seeds go into the ground. Choose a site suited to the crop’s light and soil needs, clear weeds that would compete with young plants, and prepare a surface that is fine enough for the seed size. The bed should be workable rather than soggy or compacted. If your plot has drainage or soil-structure problems, address those before expecting a uniform stand of seedlings.
Read the packet for row placement, planting depth, and any instructions about spacing or thinning. Sow at a consistent depth and avoid scattering seed so thickly that seedlings crowd one another. Some gardeners prefer to sow a little more generously when emergence is uncertain, but too much seed creates extra thinning work and can leave plants competing for light, moisture, and space.
After sowing, water gently so the seed stays in place. A strong stream can wash seed out of a row or bury it unevenly. The goal is to keep the seedbed suitably moist while avoiding runoff and puddling. Check the surface as it dries; small seeds near the surface can be vulnerable to drying before they establish.
Mark the row clearly and keep the marker in place until the seedlings are easy to identify. This is especially helpful if the garden has weeds or if the sowing is slow to emerge. Once seedlings appear, thin them as directed for the crop rather than waiting until they are large and difficult to separate. Removing extra seedlings early is easier on the plants that remain.
Direct-sown seeds are exposed to outdoor variation from the start. Heavy rain, drying winds, unexpected cold, or a crusted soil surface can interfere with emergence. Watch the bed and respond to conditions rather than following a rigid watering routine. If a sowing fails, assess the likely cause before replanting: seed depth, moisture, soil condition, pests, or weather may have played a role.
For crops suited to early outdoor sowing, the timing question is not just whether the air feels mild. Soil conditions and the crop’s tolerance matter too. Direct-Sowing Peas and Cold-Hardy Greens in Early Virginia Spring covers a specific group of crops, while When to Plant Tomatoes and Cucumbers Outdoors in Virginia addresses warm-season planting decisions. These crop-focused considerations are more useful than applying one calendar date to every seed.
Move seedlings outdoors without rushing the transition
A seedling grown indoors has been protected from outdoor fluctuations. Moving it directly into strong sun, wind, and changing temperatures can stress it, even if the garden bed is otherwise ready. Hardening off is the gradual process of getting seedlings accustomed to outdoor conditions before planting them in their permanent place.
Begin by choosing conditions that are relatively gentle and give seedlings a limited period outdoors in a sheltered location. Gradually increase their exposure as they adjust. Protect them from harsh sun and wind at first, and bring them back to shelter if conditions become unsuitable. The aim is to reduce the difference between the indoor environment and the garden, not to make seedlings endure a sudden test.
Wait until seedlings look sturdy and are growing actively. A plant that is pale, stretched, wilted, root-bound, or struggling may need attention before transplanting. Check the roots and growing mix, and make sure the plant can be moved without the root ball falling apart. Handle seedlings by the leaves or root ball rather than squeezing the stem.
Prepare the planting site before bringing seedlings out. Water the bed as needed, confirm the soil is workable, and have the planting area ready so roots are not left exposed while you make decisions. Plant at the depth appropriate for the crop. Water after planting to settle the soil around roots, then monitor the seedlings as they establish.
Transplant adjustment is not always immediate. A seedling may pause briefly after planting as it adapts to the new setting. Keep an eye on moisture and weather, but avoid responding to every temporary change with extra water or fertilizer. Persistent wilting, damaged leaves, or stalled growth may signal a problem with the planting conditions, root handling, or the seedling’s health.
Some crops are more sensitive to chilling than others. A bright, warm afternoon is not proof that conditions will remain suitable overnight. Before transplanting, consider the forecast, the exposure of the site, and the crop’s needs. For additional detail on preparing seedlings for outdoor planting, see Hardening Off Vegetable Seedlings for Virginia Garden Beds.
Troubleshoot the common failures and make a workable plan
When seedlings fail, the useful question is not simply whether indoor starting or direct sowing is better. Ask which part of the process did not fit the crop or the conditions. A short record can help distinguish an issue with seed quality from one with moisture, temperature, light, soil preparation, or timing.
Seeds do not emerge
For an indoor sowing, check whether the mix was kept moist without becoming waterlogged, whether the sowing depth followed the packet directions, and whether the growing area was suitable for germination. For a direct sowing, look at seedbed moisture, soil texture, crusting, and exposure to rain or drying weather. Some seeds take longer to emerge than others, so check crop instructions before disturbing the row.
Seedlings emerge unevenly
Uneven emergence can point to inconsistent sowing depth, patchy moisture, clods or crusting in the bed, or differences in the conditions around the seeds. In trays, check whether containers were filled and watered consistently. In the garden, prepare the bed more evenly before the next sowing and use gentle watering after planting.
Indoor seedlings are tall and weak
Stretching is often a sign that seedlings are not getting enough usable light or are too crowded. Adjust the setup, provide more even light, and give plants room to grow. Avoid solving the problem by simply moving plants into a hot or bright location without considering how quickly they may dry or scorch. If seedlings are already badly stretched, they may be harder to transplant successfully.
Seedlings wilt after transplanting
Check whether the seedlings were hardened off, whether the roots were disturbed, and whether the soil around them is too dry or too wet. Wind and strong sun can increase stress after a move outdoors. Temporary drooping can occur as plants adjust, but continued decline calls for a closer look at root condition, planting depth, drainage, and weather exposure.
Direct-sown seedlings are crowded
Crowding may result from sowing too thickly or not thinning at the appropriate stage. Follow crop-specific spacing guidance and remove extra seedlings carefully. Leaving every seedling in place may seem like a way to protect against poor emergence, but close competition can reduce airflow and make it harder for remaining plants to develop.
Build a season plan that can change
A useful planting plan is flexible enough to respond to weather and soil conditions. Keep notes on what was sown indoors, what was sown directly, when the bed was ready, and how seedlings performed. Record what worked in your own microclimate, not only what a general calendar suggested. Over time, those observations can help you make a more realistic plan for your garden.
When using Botanical Interests seed packets, follow the crop-specific instructions on the packet and compare them with your local conditions. Seed directions are a helpful starting point, but the garden’s soil, exposure, and weather still affect when a crop can establish.
If you are unsure about a crop, try both methods on a small scale when practical. Compare emergence, transplant adjustment, and growth rather than judging only by the first leaves. Keep the better-performing approach for the next sowing, while noting whether the result depended on the season or the garden location. A successful method in a sheltered bed may not behave the same way in an exposed site.
The goal is not to produce the largest seedlings or to plant as early as possible. It is to have healthy plants establishing when the garden can support them. Direct sowing can keep the process simple for crops that do well in place; indoor starting can offer a useful head start when you can provide the right conditions and manage the transition. Matching the method to the crop and adapting to local conditions is more reliable than treating either method as a universal rule.
Frequently Asked Questions
Is direct sowing easier than starting seeds indoors?
It can be, particularly when a crop is suited to sowing in its permanent location and the bed is ready. Direct sowing avoids indoor light, space, and transplant-care demands, but seeds and young plants are exposed to outdoor conditions.
Can I start every vegetable indoors?
Not necessarily. Some crops are better suited to direct sowing, and others may be more manageable as transplants. Use the seed packet’s crop-specific guidance and consider whether you can care for seedlings until the outdoor bed is ready.
Should I sow outside as soon as the weather feels warm?
No. A mild day does not guarantee suitable soil or reliable conditions for the crop. Consider soil readiness, local frost probabilities, the forecast, and the crop’s needs before sowing or transplanting.
What should I do if indoor seedlings are ready before the garden?
Avoid leaving them crowded and struggling in their containers. Check whether they can be moved to a suitable larger container, maintain appropriate light and moisture, and wait to transplant until outdoor conditions and the bed are suitable for the crop.
Sources
- Virginia Cooperative Extension, Virginia Polytechnic Institute and State University — Chapter 8: Plant Propagation – Virginia Cooperative Extension Gardener Handbook (checked November 15, 2026)
Disclaimer
This article is for general informational purposes only and does not constitute professional advice. Laws, prices and regulations vary by location and change over time. Consult a qualified professional for guidance on your specific situation. Virginia Gardening Guide is not a government agency and is not affiliated with any university extension, state department of agriculture or other government agency.